Essential Tips for Installing an Electric Hot Water System in Australia
A hot water electric heater is a system that heats and stores water using electricity for daily use in kitchens, bathrooms and laundry. Homeowners often choose electric heaters because they cost less to install, are widely available, and do not require a gas connection.
These heaters are considered easier to set up than gas models and they fit well in both small apartments and larger homes. While many steps can be done on your own, working with electricity and plumbing always carries risks. If you are not confident in handling power lines or water pipes, it is safer to call a licensed installer.
What Is a Hot Water Electric Heater?
Simple explanation of how it works
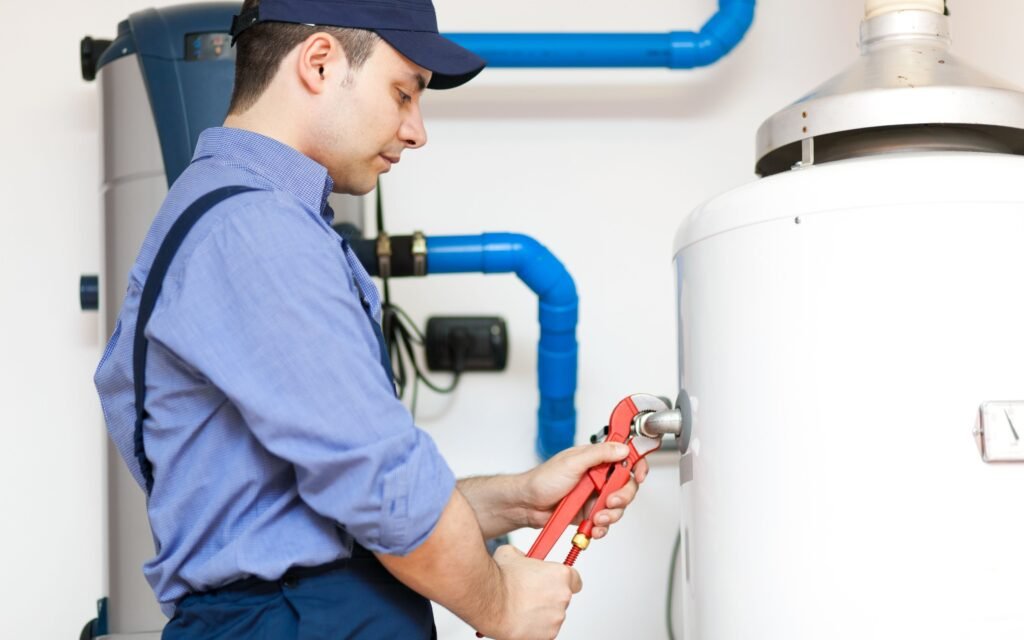
An electric hot water heater is a household appliance that delivers heated water through a power-driven system. Instead of using gas or oil, it relies on electricity to heat water quickly and keep it ready for use.
Tank vs tankless electric heaters
Tank heaters store a fixed volume of hot water inside an insulated cylinder. They are designed to provide hot water for multiple uses at the same time, such as showers, dishwashing, and laundry.
Tankless heaters do not store water but heat it instantly as it flows through the unit. This option suits smaller households or people who want a compact and efficient system with continuous hot water.
Common uses in households
Electric water heaters are used for daily needs such as bathing, cooking, washing dishes, and laundry. They are popular in homes without a gas line because installation is simpler. Families also prefer them where steady hot water is required, while apartments often choose tankless units to save space.
Things to Know Before Installation
Safety checks and permits
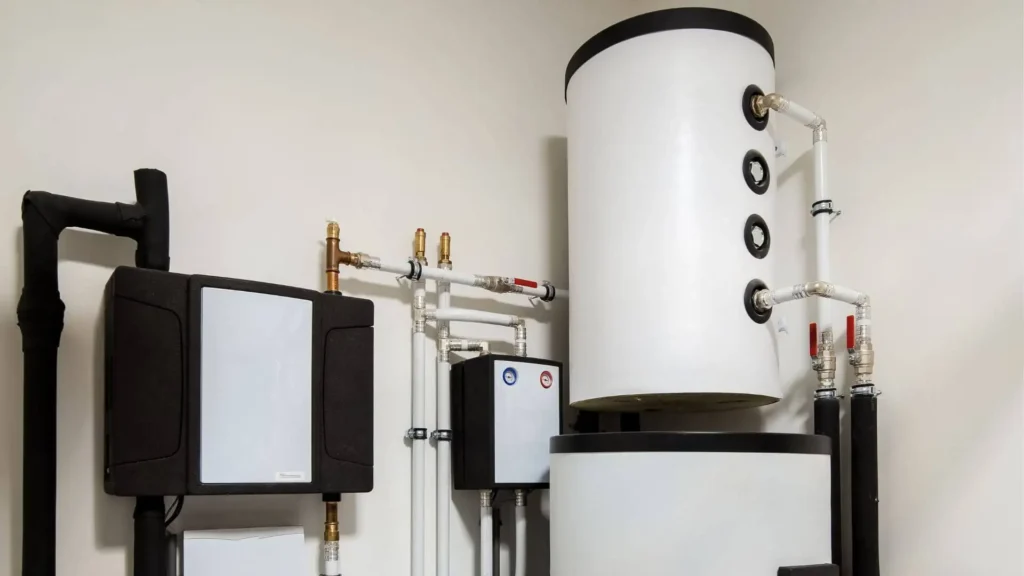
Safety comes first when installing an electric hot water heater. The space should be dry and stable. Keep kids and pets away. Make sure the wall or floor can handle the full weight of the unit.
Many regions require permits for electrical or plumbing work. These rules protect your home and make sure the system follows safety codes. Always contact the local office before starting. Skipping this step can cause problems later.
Turning off power supply
Always switch off the power before working. Go to the main service panel and turn off the breaker for that area. Test with a voltage tool to confirm the power is off. Never touch wires until you are sure.
Turn off the main water supply as well. This prevents leaks and makes the job easier. Do not restore power or water until every connection is secure.
Checking local building codes and permits
Each area has its own rules for installation. Some require a dedicated electrical circuit. Others may need a safety switch near the unit. Plumbing codes may also cover relief valves and drain pipes. Following the rules helps avoid fines or unsafe work.
When to call a licensed electrician or plumber
Some steps should only be done by trained experts. If you are not sure about wiring or grounding, call an electrician. Wrong wiring can cause shocks or even fire.
If pipes are rusted or need changes, call a plumber. A licensed installer will make sure the heater is safe, reliable, and long lasting.
Tools and Materials You’ll Need
Basic tools for installation
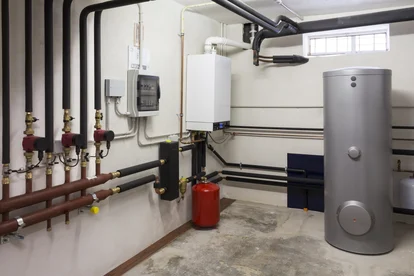
A few hand tools are needed for the job. Keep a screwdriver for fittings. Use a pipe wrench for tightening or loosening connections. Pliers are useful for grip. A saw is needed if pipes must be cut. Have nails, screws, and a level ready to secure the unit and make sure it is straight.
Safety gear for protection
Safety must be taken seriously. Wear gloves to protect your hands from sharp edges or hot surfaces. Safety glasses prevent injury from dust or debris. A voltage tester is essential to confirm that the power is fully off before working with wires.
Plumbing and electrical supplies
The heater also needs the right parts and fittings. A drain valve allows safe removal of water. Pipes and connectors are required to attach the unit to the supply lines. Conduit protects electrical wires. A mounting bracket is used to hold the heater firmly in place.
Step-by-Step Installation Guide
Step 1: Plan the location and space
Pick a place near water pipes and power. The spot should be dry, flat, and strong enough to hold the full weight of the heater when filled with water.
Step 2: Unpack and prepare materials
Lay out all tools and heater parts before you begin. Keep everything close so you can reach it easily.
Step 3: Turn off power supply
Go to the service panel and switch off the circuit breaker. Test with a voltage tool to confirm that the power is off.
Step 4: Disconnect and loosen pipe connections
Loosen the pipes in the area where the new heater will be placed. Do not touch pipes that go to the boiler or washing machine.
Step 5: Drain the old tank (if replacing)
Open the drain valve and empty the tank fully. Make sure no water remains before removing the old unit.
Step 6: Prepare plumbing lines
Cut pipes to the right size and clean away any dirt. Add the correct fittings to match the new heater.
Step 7: Install the T&P valve
Install the temperature and pressure valve. It controls pressure inside the tank and keeps it safe.
Step 8: Mount the water heater securely
Fix the heater to the wall with a bracket. Check that it is straight and tightly attached.
Step 9: Run electrical wiring and conduit
Run wires inside a conduit for safety. Connect the heater to its own circuit so it does not overload.
Step 10: Connect plumbing and electrical lines
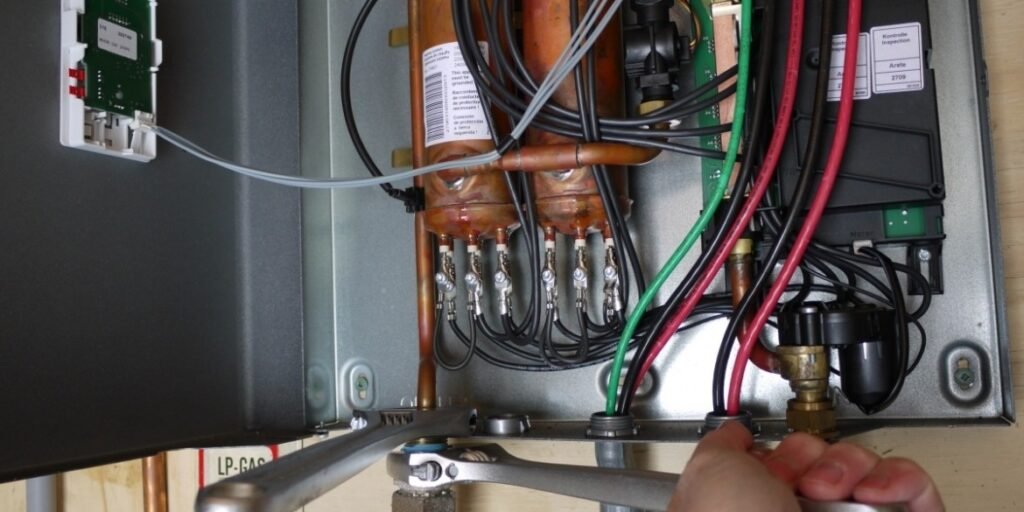
Connect the cold pipe to the inlet and the hot pipe to the outlet. Join the wires to the terminals as shown in the manual.
Step 11: Switch on power and test the system
Turn the breaker back on and open the water supply. Check for leaks, test the valve, and confirm that the water heats properly.
When to Call a Professional Installer
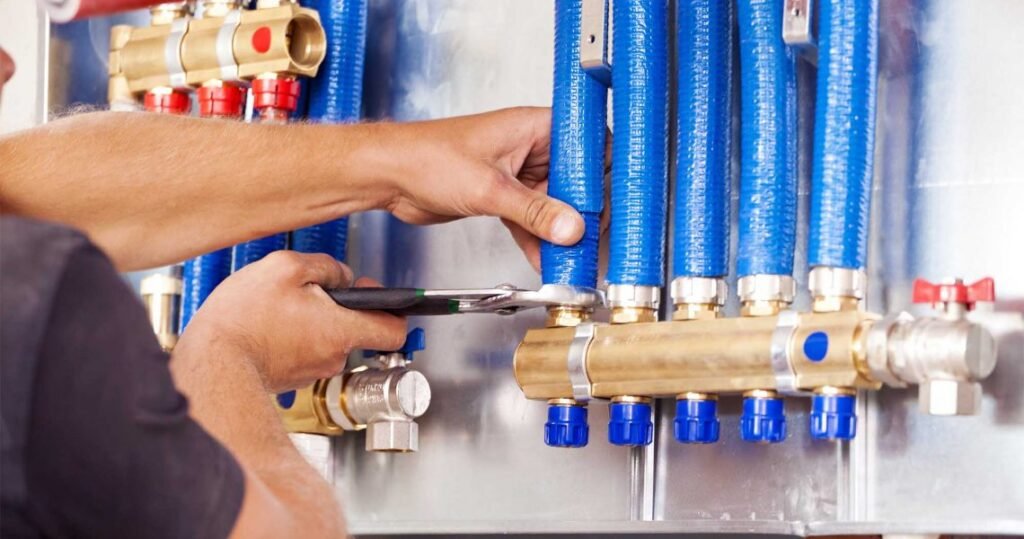
Call a professional if the job involves complex wiring, major plumbing work, or large systems like hybrid heaters. Without electrical training, mistakes can cause shocks or fire. Many areas also require permits and inspections, which licensed installers can manage while ensuring the system is safe and approved.
Common Mistakes to Avoid
Common mistakes include not turning off power before work. Using the wrong fittings often causes leaks. Skipping insulation wastes energy. Connecting the heater to an overloaded circuit is unsafe. Ignoring leaks rust or strange noises can also lead to system failure.
Useful Tips for a Safe and Efficient Setup
Insulate exposed pipes to keep water hot and prevent freezing. Install a timer to control usage and save energy. Flush the tank once a year to remove buildup. Test the pressure valve often to check safety. Keep manuals and warranty papers in a safe place for future use.
QUICK ANSWERS
How long does it take to install an electric hot water heater?
Installing an electric hot water heater usually takes two to three hours when done by a licensed professional. The time may be longer if old units need removal, new pipes are required, or permits and inspections are involved.
Can I install an electric water heater myself?
You can install an electric water heater yourself if you have basic plumbing and electrical skills, but it is safer to hire a professional to meet codes and avoid risks.
Do electric water heaters use a lot of electricity?
An electric water heater uses about 3,000 to 4,500 watts per hour, which adds up to around 10 to 15 kWh daily depending on size and usage.
Conclusion
Installing an electric hot water heater is possible with the right tools, safety steps, and basic skills. Choosing the correct size, following local codes, and checking wiring and plumbing are all important for safe use.
Regular care such as flushing the tank and testing the pressure valve will keep the system working well for years. If the work feels complex or unsafe, hiring a licensed professional is the best way to ensure reliable and safe installation.
👉 “For more home improvement tips and detailed guides, explore Redfinz, where we cover everything from water heaters to smart design solutions.”


