Did you know butterfly tops have garnered over 254.1K views on TikTok tutorials alone? This trendy fashion piece isn’t just popular—it’s surprisingly easy to create yourself!
Whether you’re drawn to a butterfly wrap top, butterfly cut top, or classic butterfly style shirt cutting, we’ve got you covered. Even beginners can successfully craft these elegant garments. Actually, the high-low butterfly top design is especially popular for its elegant and classic appearance.
In this guide, we’ll walk you through creating your own stunning butterfly top in less than two hours. From selecting your preferred style to cutting techniques and customization options, we’ve broken down the process into simple, manageable steps. Ready to transform a piece of fabric into your new favorite fashion statement? Let’s get started!
Pick Your Butterfly shirt top Style

Butterfly tops have been fluttering through fashion circles since Mariah Carey first showcased a beaded version at the VH1 Divas Live concert in 2000. Now, these versatile garments come in various styles that suit different preferences and skill levels.
Butterfly wrap top vs. butterfly cut top
The primary distinction between these two popular styles lies in their construction and appearance. Butterfly wrap tops feature a reversible wrap bodice with wide sleeves that typically reach the elbow. These tops include long ruffled ties that can be arranged in multiple configurations—tied in front for a smooth back or tied in back for a clean front appearance.
Butterfly cut tops, alternatively, are shaped like actual butterfly wings when laid flat. This design begins with the body (middle section) and then adds the wings by joining them to the sides. The straps attached to the top tie around your neck, while the other straps cross over your back and thread through the wings’ openings.
High-low, crop, and tank top variations
The high-low butterfly top offers an elegant silhouette with a shorter front that gracefully extends longer in the back. This style creates a dramatic, flowing effect that works well for both casual and dressy occasions.
Crop variations have gained immense popularity at music festivals, parties, and outdoor concerts. These shorter styles showcase your midriff while maintaining the distinctive butterfly wing shape. Many incorporate embellishments like rhinestone straps, metallic fabric, or pastel sheers that shimmer in sunlight.
Tank top versions provide a more modest approach with wider V-necks, ruffled spaghetti straps, and occasional cutouts along the chest. These variations offer greater versatility for everyday wear while maintaining the butterfly esthetic.
Choosing between no-sew and sewn versions
For beginners, no-sew butterfly tops offer an appealing entry point. These designs typically use non-fraying, self-finishing fabrics that drape well. Materials like extra-large scarves, sarongs, or pareos work perfectly for this technique. The advantage here is speed—you can create a wearable garment in minutes rather than hours.
Sewn versions provide more structure and longevity. With basic sewing skills, you can create a drapey, gauzy layering piece using an oversized t-shirt as your template. Sewn butterfly tops allow for additional customization options, including hemlines, sleeve variations, and decorative elements.
Both approaches have their merits—choose based on your skill level, available time, and desired outcome. Furthermore, consider fabric selection carefully since it significantly impacts the final appearance and wearability of your butterfly top.
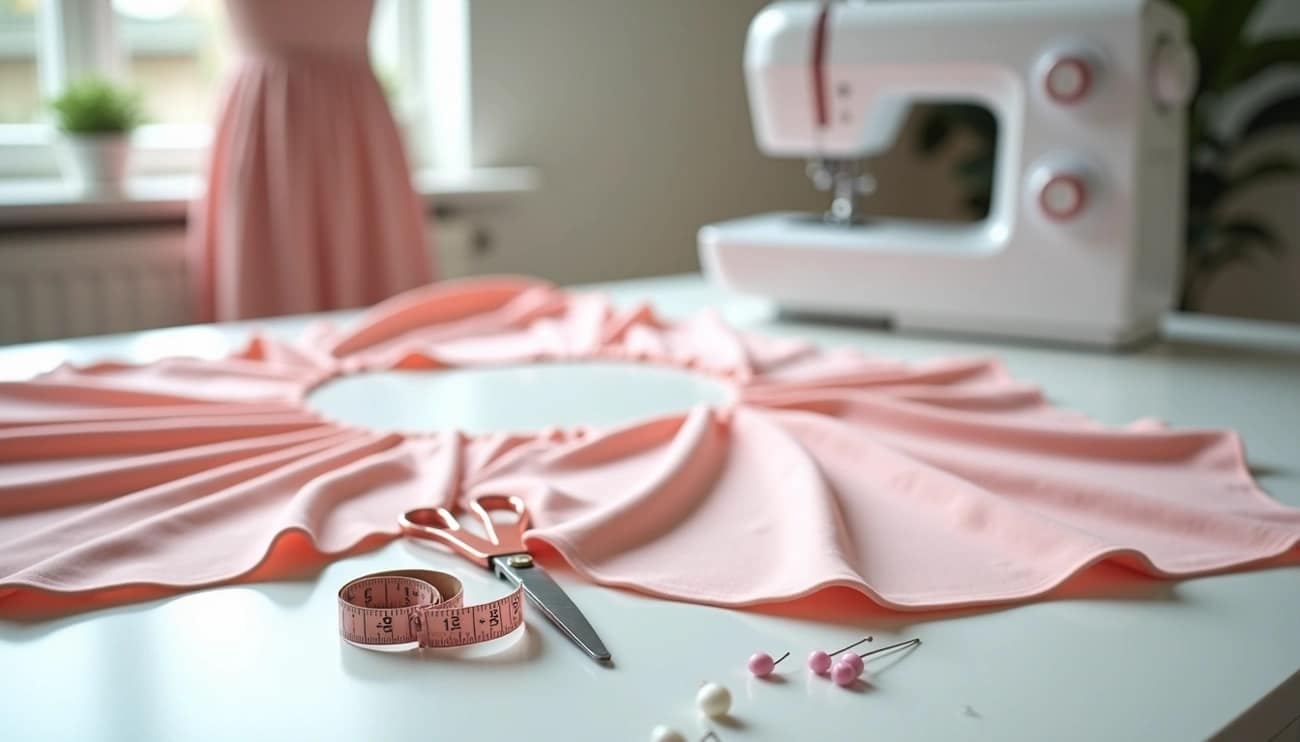
Prepare and Cut the Fabric

Preparing fabric properly forms the foundation of a well-made butterfly top. With the right measurements and cutting techniques, you’ll create a garment that flows beautifully and fits perfectly.
Measure your body or use free-size method
Before cutting your fabric, you need specific measurements. Initially, measure your center back from your shoulder blade to your wrist—this determines the sleeve width. Additionally, measure from your shoulder to your desired hip length for the top’s length. For most women, you’ll also need bust measurements divided by four for proper sizing.
Alternatively, use the free-size method which works well for butterfly tops. This approach uses standard measurements: approximately 48 inches wide fabric with 56 inches length to create a top about 27 inches long. This method is particularly useful if you’re making the top as a gift or want a more relaxed fit.
Fold and mark the fabric for butterfly style shirt cutting
Proper folding creates the characteristic butterfly shape without needing shoulder seams. Begin by folding your fabric lengthwise, then fold it again widthwise. Consequently, your fabric should be folded into four parts with the fold at the shoulder.
On this folded fabric, mark the following points:
- The neckline width (approximately 3.5 inches)
- Shoulder width (divided by two)
- Sleeve length from shoulder
- Top length from shoulder
Subsequently, mark where your hands will emerge—typically 18 inches from the neckline with an opening about 2.5-3 inches wide.
Cut neckline, sleeves, and hemline
The neckline requires different cuts for front and back. For the back, cut a shallow curve (about 1-1.5 inches deep and 3.5 inches wide). Conversely, for the front, create either a deeper V-neck (approximately 6-9 inches deep) or a rounded neckline that’s wider than the back.
For the sleeves, draw a gentle curve connecting the sleeve length to the top’s hemline. The characteristic butterfly shape emerges as you cut along this curve. To finish, cut the hemline with a slight upward curve at the sides for a flattering silhouette.
Prior to sewing, pre-wash your fabric to prevent shrinkage and ensure your stitches don’t pull out when washed later. This step also makes your fabric delightfully soft before wearing.
Sewing or No-Sew Assembly
Now that your fabric is ready, let’s assemble your butterfly top. With the right techniques, you’ll complete this project in record time.
How to sew a butterfly top in under 2 hours
Start by pinning front and back pieces together at shoulder seams and sides, then stitch with a 3/8″ seam allowance. Next, attach the facing pieces with right sides together, sewing along the edges. Clip curved edges carefully to ensure they lay flat when turned.
Finish raw edges with a zigzag stitch or serger for a professional look. Finally, double-fold the hem and sleeves by 1/2″, pin and stitch. For a flawless neckline, use bias binding tape or create a hand-rolled edge with a whip stitch.
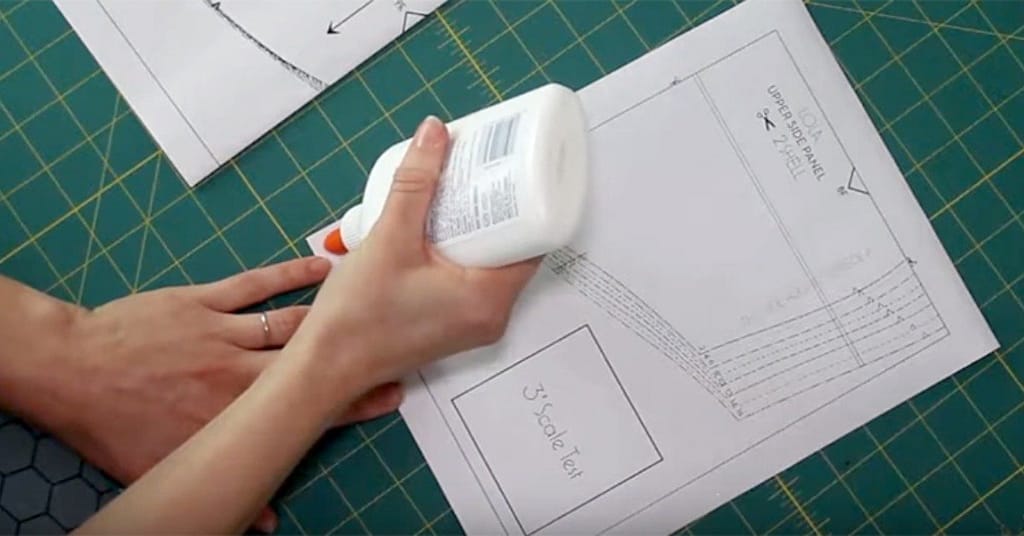
No-sew hacks using fabric glue or hemming tape
If sewing isn’t your strength, hemming tape offers a professional alternative. This double-sided adhesive bonds fabric layers with heat, eliminating needles and thread. Simply place the tape between fabric layers and press with an iron – perfect for hemming sleeves and necklines.
Alternatively, create a completely no-sew butterfly top using non-fraying, self-finished fabric. After cutting your pattern, you’ll need only fabric, scissors, and a belt to complete the look. This method works wonderfully with scuba fabric, scarves, or pareos.
Butterfly shirt cutting and stitching tips
To achieve clean seams, use a roller foot to finish edges. At junction points, clip seam allowances carefully until reaching the seam line – this prevents puckering when turning corners.
For challenging fabrics like chiffon, hand-roll edges instead of machine finishing. Moreover, use fabric clips instead of pins on delicate materials to prevent snags or holes.
Customize Your Look
The magic of a handmade butterfly top lies in making it uniquely yours. Once you’ve assembled your basic top, personalization options are practically endless.
Add crochet details or lace trims
Transform your butterfly top with delicate butterfly lace trim along the hemline or neckline. These trims come in various widths (approximately 0.5-0.6 inches) and patterns, perfect for adding feminine flair. Alternatively, attach fabric butterflies using decorative stitches or fabric glue. For extra glamor, embellish with pearls and gemstones along the bodice.
Use butterfly top crochet pattern free for accents
Crochet enthusiasts can find size-inclusive free patterns online that create gorgeous butterfly-shaped pieces. These designs typically start from the middle (butterfly body) before adding wings to the sides. Lightweight cotton yarn works best, allowing your top to maintain its shape while remaining cool enough for summer wear. Even beginners can follow video tutorials for stunning results.
Create eye-catching embellishments
For festival-ready looks, add sparkling sequins that catch light with every movement. These sequin embellishments create a dazzling effect perfect for dance floors or outdoor events. Experiment with rhinestone appliqués along wing edges or metallic butterfly motifs for Y2K-inspired fashion. Remember, these custom touches are what elevate a simple butterfly top into a head-turning fashion statement that reflects your personal style.
FAQs
Q1. How long does it take to make a butterfly top?
With the right techniques and materials, you can create a stunning butterfly top in under 2 hours. The process can be even quicker if you opt for a no-sew version using fabric glue or hemming tape.
Q2. What fabric works best for a butterfly top?
Lightweight, flowy fabrics like chiffon, silk, or lightweight cotton work well for butterfly tops. For no-sew versions, consider using non-fraying, self-finishing fabrics like scuba fabric or large scarves.
Q3. Can I make a butterfly top without sewing?
Yes, you can create a no-sew butterfly top using fabric glue, hemming tape, or by choosing non-fraying fabrics. These methods are perfect for beginners or those looking for a quick fashion fix.
Q4. What are some ways to customize a butterfly top?
You can personalize your butterfly top by adding lace trims, crochet details, sequins, or rhinestone appliqués. You can also experiment with different necklines, lengths, or incorporate unique fabric patterns to make it truly your own.
Q5. Are butterfly tops suitable for different body types?
Absolutely! Butterfly tops are versatile and can be adjusted to flatter various body types. You can choose between wrap styles, high-low designs, or crop versions to suit your preference and body shape. The free-size method also allows for a more relaxed, adaptable fit.