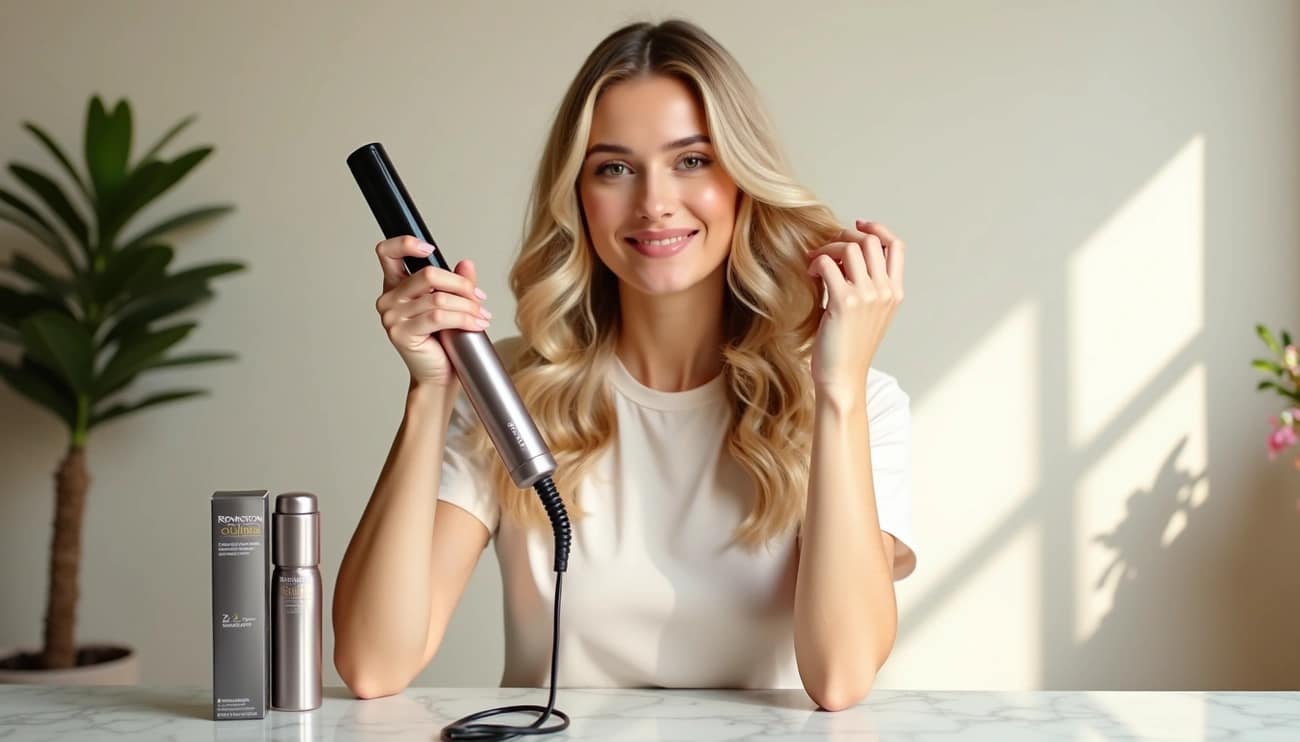
Struggling with how to use your Remington curling wand to achieve those effortless beach waves? You’re not alone. This versatile styling tool heats up to an impressive 425°F, making it powerful enough for even the most stubborn hair types.
Whether you prefer tighter curls with more volume or looser beach waves, Remington has options specifically designed for your styling goals. The 1-inch barrel creates bouncy, voluminous curls, while the 1.5-inch version delivers those relaxed, beachy waves. But the benefits don’t stop there. Priced at just $29.99, these Keratin Ceramic Curlers help keep your hair healthier and shinier while styling.
In this guide, we’ll walk you through everything you need to know about using your Remington curling wand – from choosing the right barrel size to proper technique and finishing touches. Follow these steps, and you’ll create perfect beach waves in just 10 minutes, even if you’re a complete beginner.
Choose the Right Remington Wand for Your Hair
Before diving into curling techniques, selecting the right Remington wand for your hair type and desired style is essential. The barrel size, your hair characteristics, and the type of styling tool all impact your final look.
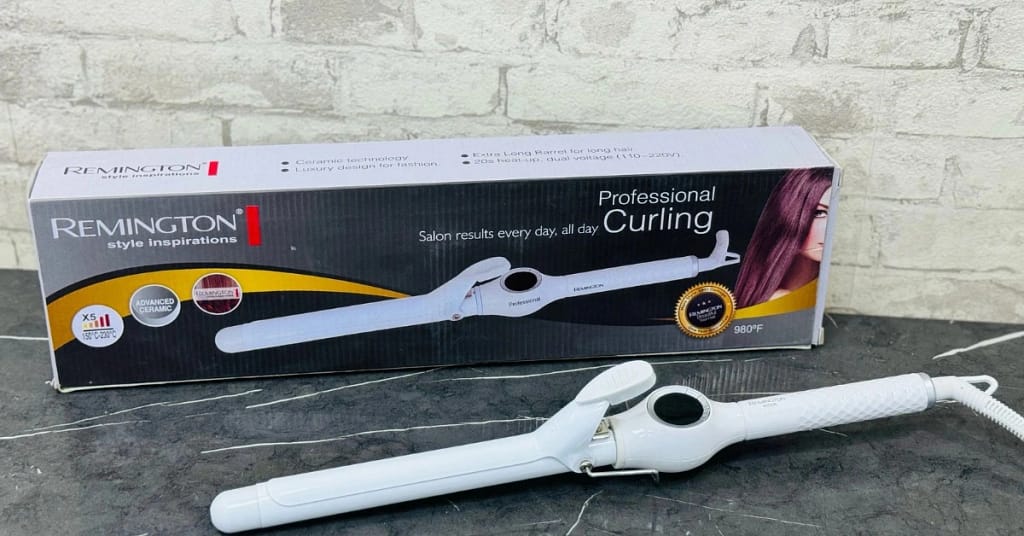
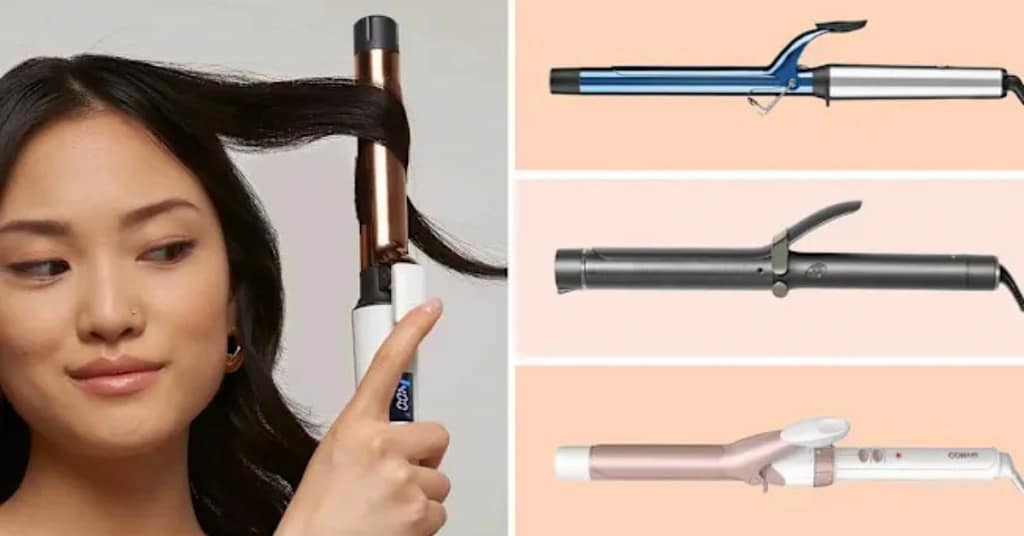
1. Differences between 1″ and 1.5″ barrels
The size of your curling wand’s barrel directly influences the type of curls you’ll create. Remington offers various barrel sizes, with 1″ and 1.5″ being the most popular:
- 1″ barrel wands: Create tighter, more defined curls with added volume. These barrels produce bouncy curls that hold their shape throughout the day. This size is perfect for creating classic curls that maintain definition.
- 1.5″ barrel wands: Produce looser, more relaxed beach waves. The wider barrel creates softer curls that appear more natural and casual. If you want those effortless, tousled waves, this is your go-to option.
The Pearl Ceramic Conical Curling Wand features a tapered barrel (1″-1.5″) that combines both sizes, allowing for versatile styling options with just one tool.
2. Choosing based on hair length and texture
Your hair characteristics should guide your barrel selection:
- Short hair: Smaller barrels (0.5″-1″) work best as they can grip shorter sections and create proportionate curls.
- Medium to long hair: Can use larger barrels (1.25″-1.5″) for loose, flowing waves. The larger surface area works well with longer sections.
- Fine hair: Opt for adjustable heat settings (250°F-325°F) to prevent damage.
- Medium-thick hair: Use temperatures between 300°F-375°F for effective styling.
- Thick or coarse hair: Higher temperatures (325°F-400°F) may be necessary for long-lasting results.
3. Remington curling wand vs curling tong vs straightener-curler
Remington offers different styling tools for various curling needs:
- Curling wands: Clipless barrels create natural-looking, beachy waves. Ideal for medium to long hair and casual styles.
- Curling tongs (irons): Feature a clip to secure hair, creating uniform, defined curls. Perfect for all hair lengths and more polished looks.
- Straightener-curlers: Dual-purpose tools like the Remington ONE™ offer both straightening and curling capabilities in a single device. These feature heated plates (300°F-450°F) and a separately heated barrel (300°F-410°F) for versatile styling.
For those new to curling, Remington wands offer budget-friendly options with features like ceramic coating, multiple heat settings, and even conditioning technology to protect your hair.
Prep Your Hair for Long-Lasting Curls
The perfect beach waves start with proper preparation. Getting your hair ready is just as important as the curling technique itself. Properly prepped hair holds curls longer and looks healthier, so follow these steps before you reach for your Remington curling wand.
1. Wash and dry your hair properly
Surprisingly, day-old hair typically holds curls better than freshly washed hair. Your natural oils give hair texture and make strands more moldable, helping curls last longer. If your hair struggles to maintain curls, try washing it the night before styling.
For those with oily scalps, curling on freshly washed and dried hair works fine, just add a small amount of styling serum to the ends for protection. Consider skipping deep conditioning treatments before curling as they can weigh hair down and make it harder to style. Additionally, using a lightweight styling lotion beforehand adds texture that enhances curl formation.
Hair Tip: Make sure your hair is completely dry before using your Remington curling wand. Even slightly damp strands can suffer serious damage when exposed to high heat.
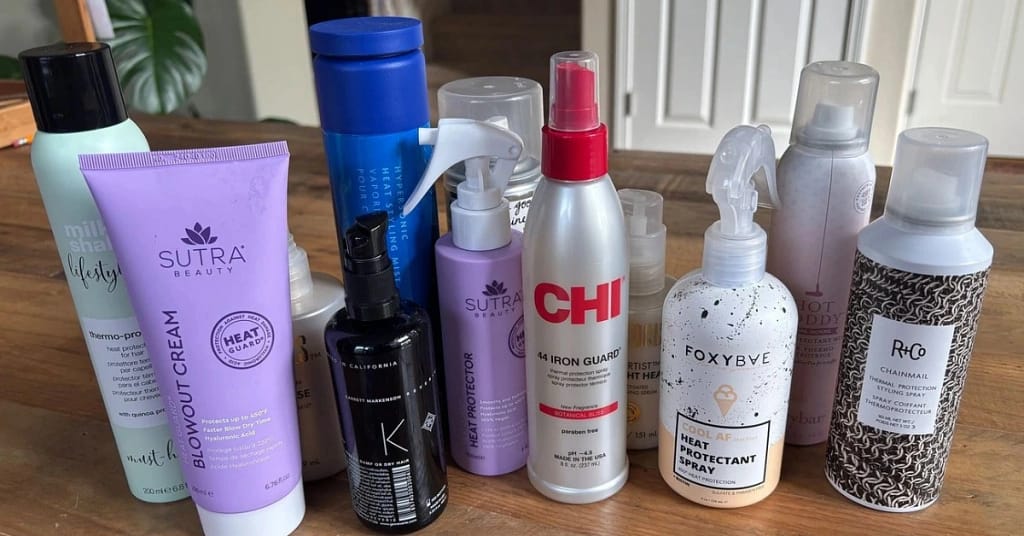
2. Apply heat protectant spray
Heat protectant is non-negotiable when using your Remington curling wand. Think of it as sunscreen for your hair – without it, temperatures above 392°F can cause irreversible damage to your strands. Heat protectants work by creating a protective barrier between your hair and the wand’s heat, essentially sacrificing themselves rather than your hair.
For application, hold the spray 10-12 inches away from your hair and mist evenly. Subsequently, brush through to ensure complete coverage. Apply on damp hair before blow-drying or on dry hair before using your Remington wand.
Temperature guidelines by hair type:
- Fine or damaged hair: 250°F-325°F
- Medium-thick hair: 300°F-375°F
- Thick or coarse hair: 325°F-400°F
The optimal temperature for most hair types is around 350°F when using a Remington curling wand.
3. Detangle and section your hair
Sectioning is crucial for achieving consistent, beautiful waves with your Remington wand. Start by thoroughly detangling your hair with a wide-tooth comb or paddle brush. Afterward, divide your hair into manageable sections.
For thick hair, work with approximately 1-inch sections. Those with thinner hair can handle 1-2 inch sections. Remember that larger sections create softer, looser waves, whereas smaller sections produce tighter, more defined curls.
You can section either vertically (for gentle waves) or horizontally (for added volume). Using clips to secure sections keeps your hair organized and makes the curling process much more efficient.
Step-by-Step: How to Use the Remington Curling Wand
Now that your hair is prepped, it’s time to master the actual curling technique with your Remington wand. Follow these steps for perfect beach waves every time.
1. Set the right temperature for your hair type
Initially, plug in your Remington curling wand and press the on button. Use the “+” and “-” buttons to select the appropriate temperature. Temperature guidelines:
- 120°C-170°C (250°F-340°F): Fine, damaged or bleached hair
- 170°C-200°C (340°F-390°F): Normal, healthy hair
- 200°C-220°C (390°F-425°F): Thick, difficult-to-style hair
Wait for the temperature display to stop flashing, indicating it’s reached your selected heat.
2. Hold the wand correctly (tip down)
Always hold the wand with the barrel facing downward. This position helps create natural-looking waves and prevents accidental burns. Furthermore, use the heat-resistant glove that comes with your Remington wand to protect your hand.
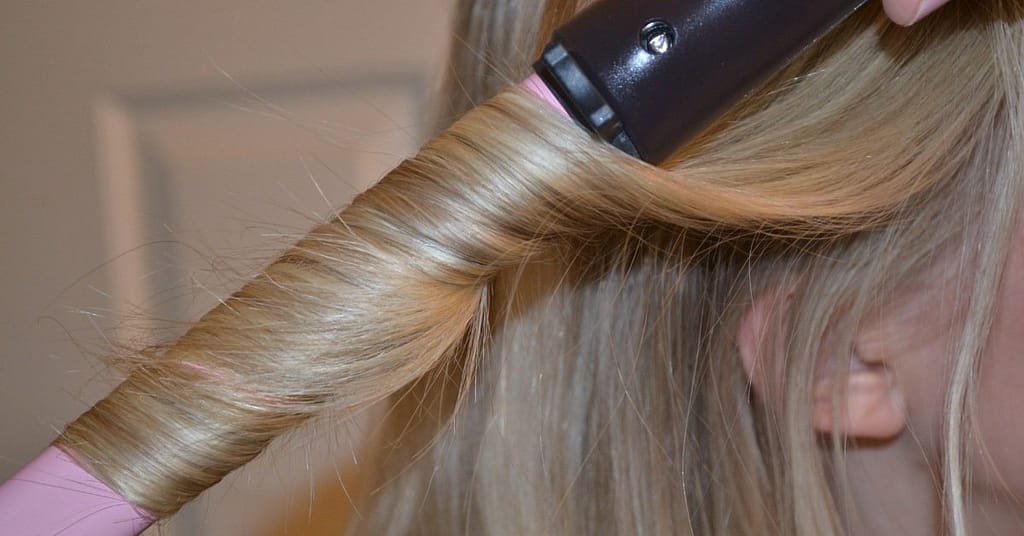
3. Wrap hair around the barrel away from your face
Take approximately 1-inch sections of hair. Wrap each section around the barrel, moving away from your face. Ensure hair lies flat against the barrel without overlapping for even heat distribution. The tapered design creates waves that are wider at the top and smaller at the ends.
4. Hold for 8–10 seconds and release
Keep hair wrapped around the barrel for 8-10 seconds. For fine hair, 8 seconds is sufficient, while thicker hair might need the full 10 seconds. During this time, you can gently touch the hair to check how hot it’s getting.
5. Repeat for all sections
Work methodically through all sections, starting with lower layers first. For smaller, tighter curls, use smaller sections. For looser waves, use larger sections. Consequently, you’ll create consistent curls throughout your hair. The entire process typically takes about 10 minutes.
Style and Set Your Beach Waves
After completing all your curls with the Remington wand, these crucial finishing steps transform tight ringlets into gorgeous, natural-looking beach waves.
1. Let curls cool before touching
Allow your curls to cool completely before styling. This cooling period sets the curl pattern and significantly increases longevity. Patience during this step ultimately determines how well your waves hold throughout the day.
2. Finger comb or brush for softer waves
Once cooled, break up tight curls to achieve that relaxed, beachy look:
- Finger combing: For soft, tousled waves with definition, gently run your fingers through curls. This preserves some curl structure while reducing formality.
- Brushing: For looser, more casual waves, use a brush to blend the curls together. This creates a unified, flowing wave pattern.
3. Use light hairspray or texturizing spray
Finish with the right product to set your beach waves:
- Light hairspray: Apply generously after curls cool for flexible hold without stiffness.
- Texturizing spray: Adds volume, grip, and movement to hair without the weight of dry shampoo or stiffness of hairspray. Perfect for creating that “lived-in,” piecey look.
4. Tips for short hair and bangs
For shorter styles with your Remington curling wand:
- Curl all sections away from your face for a more modern appearance
- Work with smaller sections (about 1-inch wide)
- Leave the ends straight for a contemporary look
- Vary your section sizes for a more natural effect
5. How to refresh curls the next day
Revitalize second-day curls without completely restyling:
- Quickly touch up face-framing pieces with your Remington wand
- Apply dry shampoo at the roots for volume
- Use a bit of mousse or texturizing spray to reactivate waves
- Dampen hands slightly and scrunch to redefine curls
Conclusion
Creating perfect beach waves with your Remington curling wand certainly doesn’t require professional styling skills or hours of effort. Throughout this guide, we’ve covered everything from selecting the right barrel size to finishing touches that make your waves last all day.
Remember, the right temperature setting makes a significant difference in both styling effectiveness and hair health. Fine hair needs gentler heat around 250°F-340°F, while thicker hair benefits from temperatures closer to 425°F. Additionally, proper preparation with heat protectant spray serves as essential armor against potential damage.
Patience plays a key role when using your Remington wand. Allowing curls to cool completely before styling helps lock in the wave pattern, while finger combing afterward creates that effortless, tousled look everyone loves.
Most importantly, practice makes perfect. Your first attempt might not yield salon-quality results, but each styling session will improve your technique. Soon enough, you’ll create those gorgeous beach waves in just 10 minutes flat.
The Remington curling wand offers an affordable yet effective way to achieve versatile hairstyles at home. Therefore, grab your wand, follow these steps, and enjoy beautiful, bouncy waves that look professionally styled without the salon price tag. After all, those compliment-worthy beach waves are now just a few wraps away!