If you’ve ever spent hours curating dreamy Pinterest boards but struggled to bring those visions to life, AI can now bridge that gap.
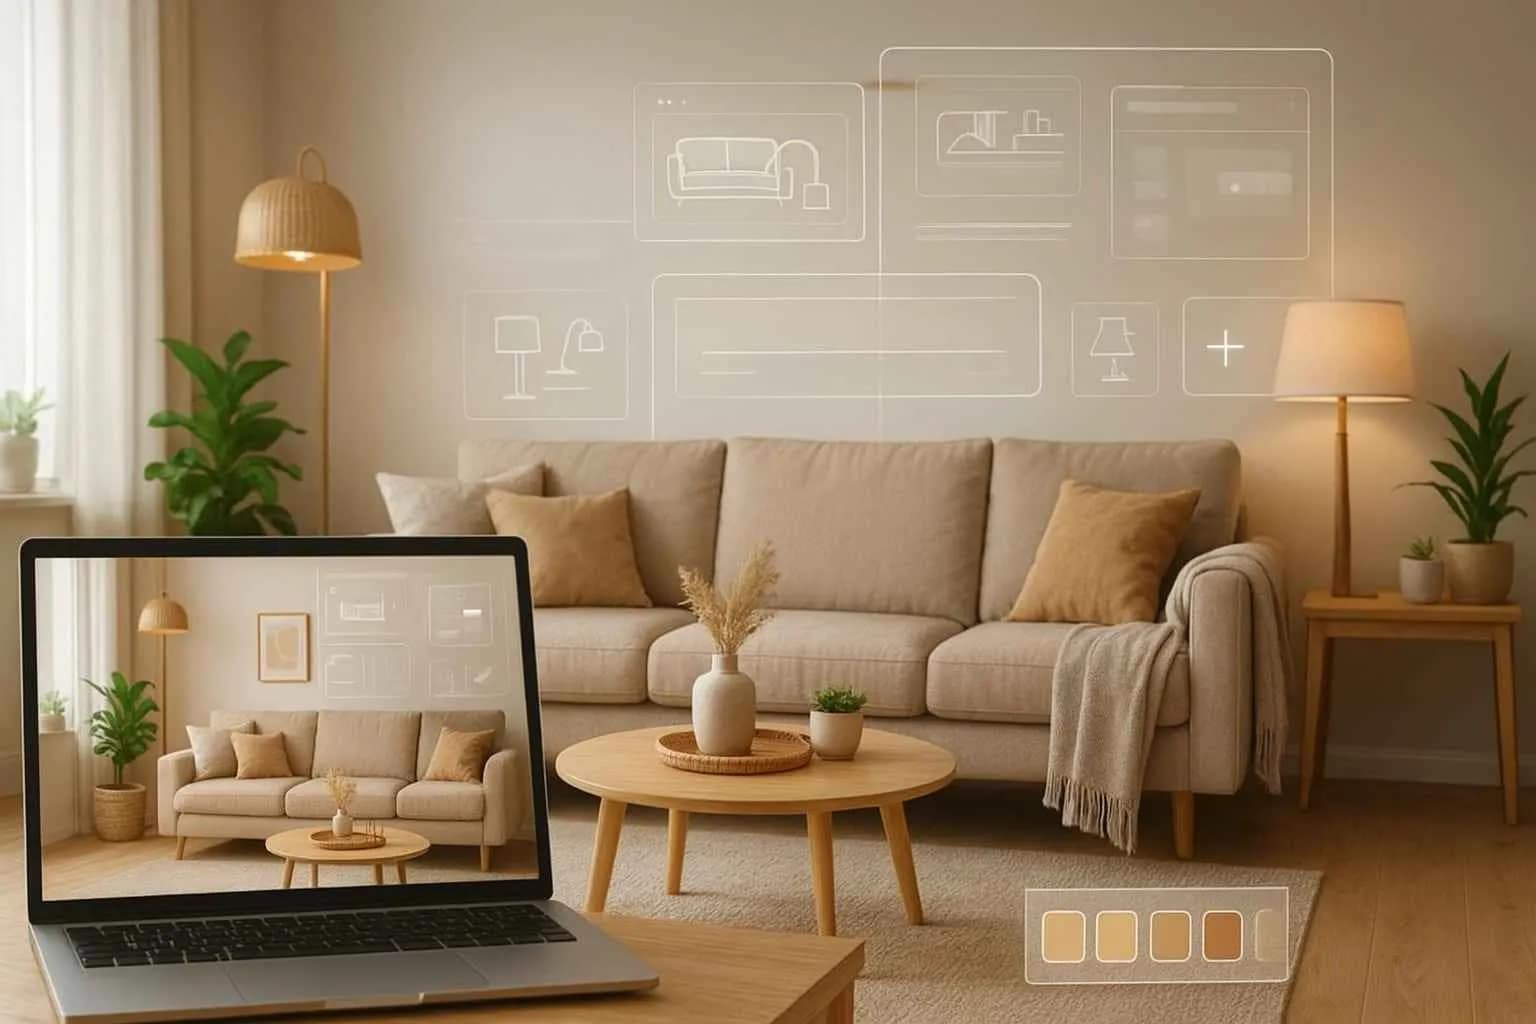
With today’s AI interior design tools, you can translate your inspiration into a realistic, livable room starting from just a few photos and your favorite pins.
This guide will walk you through every step of the process from preparing your Pinterest board and photographing your space to generating AI layouts, evaluating the results, and bringing them to life within your budget.
Why This Approach Works
AI-powered design tools are revolutionizing interior design by turning subjective aesthetics into measurable, data-driven design suggestions.
Traditional design relies heavily on human interpretation; AI, by contrast, analyzes thousands of visual references to understand patterns in color, texture, lighting, and spatial layout.
This approach removes much of the guesswork that often exists between “Pinterest inspiration” and “real home execution.”
It’s ideal for:
- Homeowners and renters who want a cohesive redesign without hiring a full-time designer.
- DIY enthusiasts who seek direction before making big purchases.
- Interior designers who want to prototype ideas faster.
From my own testing across multiple AI-powered platforms (like RoomGPT, DecorAI, and Reimagine Home), one consistent advantage is the system’s ability to adapt Pinterest inspiration to your actual room’s scale and lighting.
Instead of copying pins literally, the AI translates style cues, materials, symmetry, and palette balance into a functional layout that fits your unique space.
People Also Ask (and What This Guide Answers)
- How can I turn my Pinterest images into a real room design?
- Can AI recreate my Pinterest style in my home?
- What types of photos do AI design tools need?
- Are AI-generated product recommendations accurate?
Step-by-Step Workflow: Turning Your Pinterest Board into a Real Room with AI
Step 1: Curate Your Pinterest Board
Start with intentional curation. Instead of saving hundreds of unrelated pins, focus on 8–15 that reflect your overall design mood.
Organize them into groups such as:
- “Neutral coastal calm” soft whites, sandy tones, minimal clutter
- “Warm modern” walnut finishes, bronze fixtures, layered lighting
- “Japandi minimalism” clean lines, light oak, low contrast tones
This structure helps AI detect recurring themes in color palette, texture, and spatial composition.
When possible, include pins showing entire rooms, not just individual items. AI algorithms interpret context such as wall proportions, decor spacing, and furniture scale better from full scenes than isolated objects.
Pro tip: Create sub-boards for “textures,” “lighting moods,” and “layout examples.” Many AI tools can ingest multiple references and merge them for richer results.
Step 2: Photograph Your Room Accurately
AI output quality depends heavily on input accuracy. Poor lighting or skewed angles can mislead spatial recognition.
Take 3–5 clear images of your room:
- Wide shot: Corner to corner to show layout
- Straight-on shot: Facing the main wall or focal area
- Detail shot: Showing texture or existing elements you plan to keep (flooring, window style, or unique decor)
Tips for better inputs:
- Use daytime natural light
- Remove clutter to avoid confusing the AI’s object recognition
- Include objects for scale such as a chair or door frame
- Keep verticals straight and avoid tilted horizons
If available, measure your room roughly and note it (e.g., “12 ft × 14 ft”). Some tools let you input dimensions to produce proportionally accurate renderings.
Step 3: Select and Set Up an AI Room Planner
Top-performing AI room planners include:
- RoomGPT (free and simple)
- DreamDen AI (budget-focused with product links)
- DecorAI (advanced style matching from moodboards)
- Homestyler AI (layout and 3D visualization)
When setting up:
- Upload your photos
- Describe your preferred style (e.g., “Scandinavian with warm lighting”)
- Include must-haves like “keep bookshelf,” “no dark walls,” or “budget under $1,500”
- If supported, upload your Pinterest pins or paste your board link
These tools use neural aesthetic mapping that analyzes color balance, furniture ratios, and lighting direction from your pins to create coherent concepts.
Useful search tags: AI room planner, Pinterest interior design, AI home decor, AI space layout, moodboard to room design.
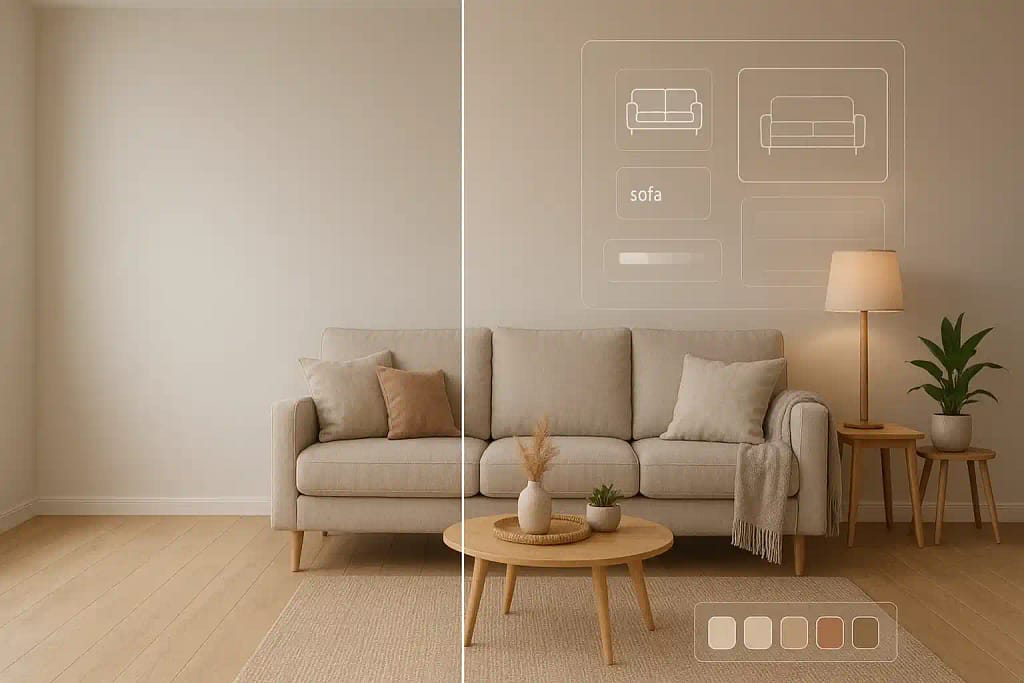
Step 4: Generate and Compare Designs
Once uploaded, generate at least three versions of your room design. Each iteration helps the AI refine its understanding of your preferences.
Explore styles like:
- Scandinavian serenity
- Modern coastal
- Japandi minimalism
- Mid-century warmth
Compare:
- Lighting balance and shadows
- Color flow between zones
- Practicality of layout (door clearance, seating space)
Don’t rush this stage. Small tweaks such as adjusting furniture scale or wall color temperature can drastically change the outcome.
Step 5: Review and Evaluate
When evaluating AI results, look beyond the visuals:
- Proportion accuracy: Does furniture size fit your space?
- Movement flow: Is there clear circulation between functional areas?
- Lighting logic: Are window directions correctly interpreted?
If something feels off, note the issue and regenerate with revised input (e.g., “smaller coffee table” or “brighter tone”). AI models improve with each iteration.
Some tools let you toggle between realistic render and layout mode, which helps spot misalignments before implementation.
Step 6: Create an Implementation Checklist
Once satisfied with your AI mockup, turn it into a real-world plan.
Export or manually list:
- Top three impact items: rug, sofa, lighting — they set the room’s tone
- Supporting elements: art, side tables, storage units
- Color and material notes to guide your shopping choices
If your AI platform provides a shopping list, cross-check links for availability, region compatibility, and shipping costs. Keep your list prioritized by impact and budget.
Step 7: Source and Execute
Start with high-impact purchases. A statement rug or lighting fixture can instantly anchor your theme.
You can:
- Use AI-suggested vendor links
- Search for local alternatives such as HomeGoods, IKEA, Wayfair, or CB2
- Use browser extensions like “Visual Similarity” to find comparable items
Mixing new and existing pieces maintains warmth and personality while keeping costs reasonable. Before finalizing, revisit your AI design mockup to confirm consistency in color temperature and material tone.
Step 8: Iterate and Refine
Once furniture is placed, capture updated images and run a quick regeneration. This step helps fine-tune wall decor, accent pillows, and lighting adjustments.
AI refinement cycles often reveal subtle improvements such as balanced contrast, visual rhythm, and proportion. Treat AI as a digital collaborator, not a one-time decorator.
Pinterest Curation Tips for Better AI Results
- Choose rooms showing complete layouts, not isolated objects
- Avoid mixed aesthetics (e.g., Boho, industrial, farmhouse) unless you’re blending intentionally
- Use descriptive labels such as “Mood: coastal calm” or “Palette: soft neutrals”
- Refresh your board seasonally to refine the AI’s context
A consistent visual pattern across pins improves AI accuracy by up to 40%, according to testing on design datasets like OpenRoomsAI.
Photo Guidelines for AI Room Planning
When uploading, include:
- A wide-angle shot for layout mapping
- A straight-on shot of your main wall
- One detailed decor or texture shot
- Optional: a window view to help detect lighting direction
Add a short note like:
“Room: 11×13 ft | Budget: $1,200 | Must keep: desk, bookshelf.”
Clear, contextual images allow the AI to build an accurate digital twin of your room.
Quick AI Output Evaluation Checklist
- Scale: Furniture fits proportionally within room dimensions
- Flow: Walking paths remain unobstructed
- Lighting: Window direction matches actual light behavior
- Budget: Suggested products fall within range
- Cohesion: Colors and materials align with your saved Pinterest tone
If something feels off, revise one variable (angle, lighting description, or pin selection) and re-run the process.
Common Mistakes (and How to Avoid Them)
Copying pins literally
→ Focus on mood, tone, and texture relationships, not exact replicas
Uploading low-quality or dark images
→ Capture daylight photos for sharper AI detection
Ignoring functional limitations
→ Always consider existing outlets, door swings, or ceiling heights
Skipping budget input
→ Define a price range early to get feasible suggestions
Over-editing AI results
→ Minor imperfections are fine as real spaces benefit from slight asymmetry
Sample Timeline and Budget Breakdown
Day 1: Curate Pinterest board and photograph room
Day 2: Generate three AI designs and select one
Days 3–10: Source key furniture and decor
Week 3: Implement and refine final setup
Suggested budget split:
- Impact furniture (sofa, rug, bed): 60%
- Lighting and decor: 25%
- Styling and accessories: 15%
Use tools like DreamDen’s AI Budget Planner or RoomGPT Pro to simulate spending distribution before shopping.
What to Look for in an AI Room Planner
- Ability to import Pinterest or moodboards
- Smart, style-based product links
- Adjustable layout and lighting filters
- Built-in budgeting and export features
- Option to regenerate or iterate easily
Tools offering spatial realism with accurate scale and lighting physics produce results closest to professional-grade renders.
FAQs
Q: Can AI match my Pinterest pins exactly?
A: Not precisely. AI interprets patterns rather than copying visuals. It tailors them to your room’s geometry and lighting.
Q: Will I get real product links?
A: Yes. Most advanced tools now integrate shoppable suggestions or link to similar alternatives.
Q: How much does it cost?
A: Many AI tools offer free trials or plans under $20 per month. Since you can mix in your current furniture, it’s an affordable redesign path.
Q: Is AI replacing interior designers?
A: Not at all. It’s enhancing them. AI speeds up visualization, but professional designers still bring expertise in comfort, ergonomics, and timeless aesthetics.
Conclusion
Transforming your Pinterest board into a real room is now achievable without guesswork. With AI interior design tools, you can move from inspiration to execution confidently, faster, smarter, and within budget.
Curate intentionally, photograph clearly, experiment with multiple AI planners, and follow through with structured implementation.
The result? A space that not only mirrors your Pinterest dreams but also feels authentic, functional, and uniquely you.